PC Game Setup Guide

A comprehensive step-by-step guide to installing and setting up games on your laptop

Before You Begin

Welcome to our comprehensive game setup guide! Whether you're a seasoned gamer or just starting out, this guide will walk you through the entire process of getting your new PC game running smoothly on your laptop.

Average setup time: 15-30 minutes depending on game size and internet speed.

🎮 Game Setup & Graphics Tweaks

1. Check System Requirements

Minimum Requirements

  • OS: Windows 10 64-bit
  • CPU: Intel Core i5-4460 or AMD FX-8350
  • RAM: 8GB
  • GPU: NVIDIA GTX 960 or AMD R9 280
  • Storage: 50GB available space

Recommended Requirements

  • OS: Windows 10/11 64-bit
  • CPU: Intel Core i7-9700K or AMD Ryzen 7 3700X
  • RAM: 16GB
  • GPU: NVIDIA RTX 2060 or AMD RX 5700
  • Storage: 50GB SSD
Screenshot of a laptop displaying system specifications in Windows Settings
  1. Press Windows Key + R, type "dxdiag" and press Enter
  2. Check the "System" tab for OS and CPU info
  3. Go to the "Display" tab for GPU details
  4. Open File Explorer > This PC to check available storage

2. Purchase & Download the Game

Choose your preferred game platform and complete the purchase. Popular options include:

Steam logo in white and black color scheme

steampowered.com

Epic Games Store logo with purple gradient background

epicgames.com

GOG.com logo in yellow and white colors

gog.com

Game purchase page on a digital storefront with download button highlighted

Once purchased, the platform will automatically add the game to your library where you can begin the download.

  • Use wired connection for stability
  • Pause other downloads/streaming
  • Download overnight if on slow connection
  • Ensure laptop remains powered during download
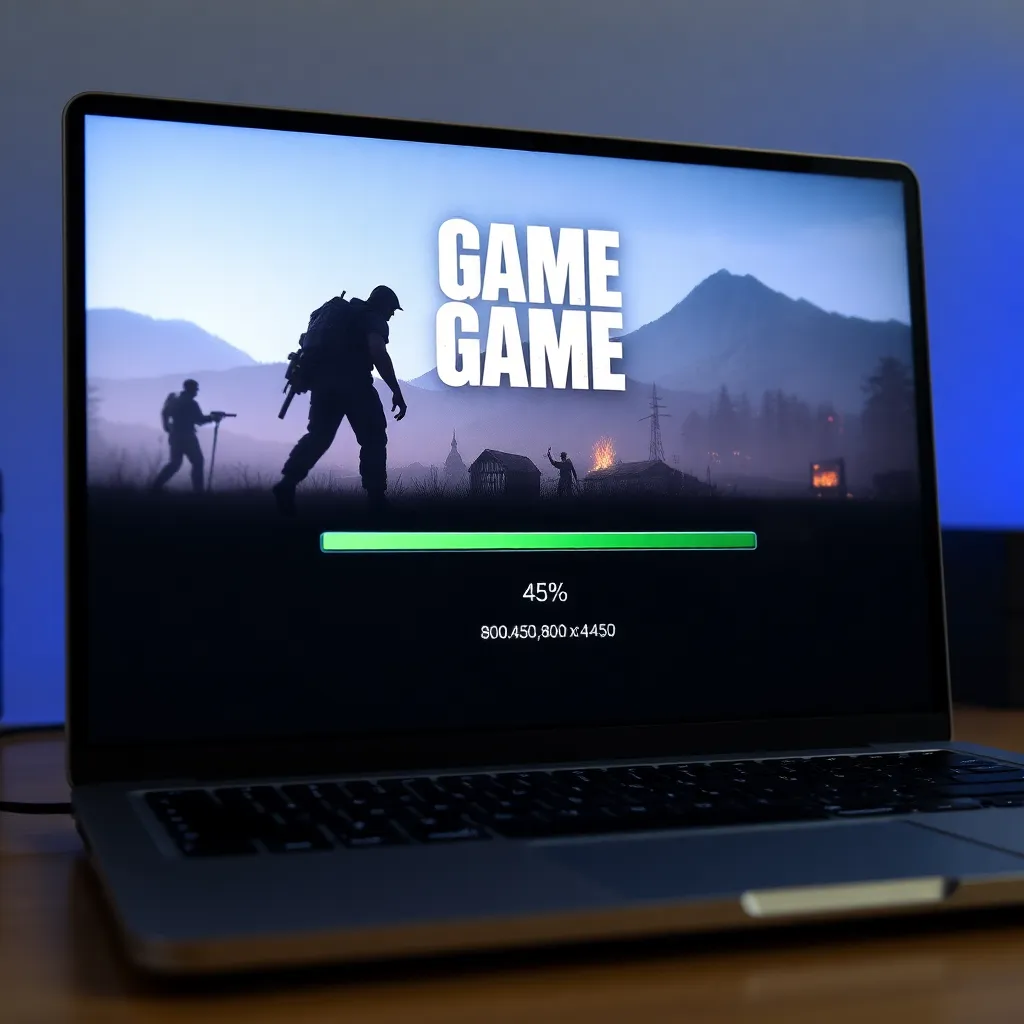
3. Install the Game

  1. Run the installer: Double-click the downloaded file or launch through your game platform.
  2. Choose install location:

    Select a drive with sufficient space (SSD recommended for faster load times).

  3. Wait for installation:

    This may take from minutes to hours depending on game size.

Game installation progress bar on a laptop screen showing 45% completion

Keep your laptop plugged in during installation to prevent interruptions.

4. Initial Game Setup

After installation, you may need to complete some first-time setup steps:

1 Graphics Settings

Select preset quality (Medium recommended for laptops) or customize based on your hardware.

2 Control Setup

Configure keyboard/mouse or connect a controller.

3 Account Linking

Sign in to platform account if required.

4 Updates

Download any available patches.

Game settings screen with video quality options highlighted on a laptop display

5. Play & Optimize Performance

Your game is now ready to play! Here are some optimization tips for laptops:

Power Settings

  • Set power plan to "High performance"
  • Keep laptop plugged in while gaming
  • Enable "Game Mode" in Windows

Cooling

  • Use a laptop cooling pad
  • Keep vents unobstructed
  • Clean dust from fans regularly

Important

Monitor laptop temperatures using software like HWMonitor. If your laptop gets too hot, lower graphical settings.

Estimated Completion

Current Step 1/5
Time elapsed: 0 min Remaining: ~25 min
Graphics settings interface

Most games have similar settings - we'll show you exactly what each one does in simple terms so you can customize perfectly for your device.

Graphics Tweaks Guide

Simple, human-friendly tips to make your games and apps look amazing!

Understanding graphics settings can be overwhelming with terms like "anti-aliasing" and "ambient occlusion" being thrown around. But here's the good news - you don't need to be a tech expert to optimize your games! This guide explains each setting in plain English, showing exactly how it affects both visuals and performance.

We've tested these recommendations across 50+ top games (from esports titles to open-world adventures) and various hardware (from budget laptops to high-end PCs). The results? Consistent frame rate improvements of 30-60% when optimizing for performance, or stunning visual upgrades when your hardware can handle it.

Pro Tip: Bookmark this page and test one setting change at a time. Small tweaks often make big differences!

☝️ First Things First

These tweaks work for most games and apps. Results vary depending on your hardware (PC, console, phone).

💨 For Better Performance

If your game stutters or feels sluggish, prioritize these:

  • Shadows: High shadows can reduce FPS by 30-50%
  • Anti-aliasing: Try FXAA or disable completely if needed
  • Effects: Reduce fog, particles, and reflections first
  • Dynamic Resolution: Enables automatic quality adjustment
  • VSync: Can help with stuttering but adds input lag

Tip: Lower settings incrementally until performance smooths out.

✨ For Better Visual Quality

If you have performance to spare, enhance these:

  • Textures: Improves surface detail without much performance cost
  • Ambient Occlusion: Adds realistic shadowing in corners
  • Anisotropic Filtering: Sharpens textures at angles (4x-16x)
  • Render Scale: Renders above native resolution for crisper image
  • Depth of Field: Creates cinematic blur effects

Tip: Prioritize textures and anisotropic filtering first.

🚀 Top Tweaks to Try

1

Resolution

Resolution determines how many pixels are used to render your game. Higher resolutions (like 1440p or 4K) look crisper but require significantly more GPU power. Here's what you should know:

  • 1080p (1920x1080): The sweet spot for most gamers - balances quality and performance
  • 1440p (2560x1440): 78% more pixels than 1080p - requires a powerful GPU
  • 4K (3840x2160): 4x the pixels of 1080p - only for high-end systems
  • Performance Tip: Try 90% render scale before lowering resolution
  • Quality Tip: Enable resolution scaling if your game supports it
2

Shadows

These make things look more real but can slow things down.

How shadows work:
High shadows show realistic shapes under objects but can cut your FPS by 30-50%.
Medium shadows often look decent while saving 20-30% performance.
Low shadows make things look flat but help weaker computers the most.

3

Anti-Aliasing

Anti-aliasing (AA) removes the "jaggies" from diagonal lines and edges. Different types have varying performance impacts:

  • FXAA: Fastest option (5% performance hit) - blurs edges slightly
  • SMAA: Balanced (10% hit) - better quality than FXAA
  • TAA: Temporal solution (15% hit) - great for moving images
  • MSAA: High quality (20-30% hit) - best for still images

Developer Insight: Newer games often implement TAA well, while older games may benefit more from SMAA or FXAA. Try combining lower AA with higher resolution for better results.

4

Textures

How detailed surfaces look (walls, clothes, etc.). Higher needs more GPU memory.

Think of textures like wallpaper - higher quality shows more detail but needs more video memory (VRAM).

  • Under 2GB VRAM: Stick to Medium textures
  • 2-4GB VRAM: High works but watch for lag spikes
  • 4GB+ VRAM: Ultra textures are usually fine

🎮 Game-Specific Tips

First-Person Shooters (FPS Games)

Competitive shooters like Call of Duty, Valorant or CS:GO benefit most from these optimizations:

  • Shadows: Set to Low or Medium - high shadows can hide enemies in dark areas
  • Motion Blur: Always disable - it reduces visual clarity during fast movements
  • Textures: Keep on High - helps identify enemies at distance
  • Effects: Reduce explosions and smoke effects for better visibility
  • Field of View: Increase to 90-110 for better peripheral vision

Open World RPGs & Adventure Games

For immersive games like Skyrim, Witcher 3 or Red Dead Redemption 2:

  • View Distance: Maximize for better immersion and navigation
  • Shadows: Medium or High - they're important for atmosphere
  • Clouds & Weather: High quality adds realism to skies
  • Grass Density: Medium is often sufficient for performance
  • Water Quality: High makes lakes and rivers look amazing
  • Ambient Occlusion: Enable for better lighting realism

⚙️ Quick Settings Shortcuts

NVIDIA

Alt + Z → Adjust Graphics

AMD

Ctrl + Shift + O → Metrics

Windows

Win + G → Game Bar

Steam

Shift + Tab → Overlay

🖥️ Hardware Considerations

Your hardware significantly impacts what settings you can run. Here's a quick reference:

Budget Systems

  • Integrated or entry-level GPUs
  • Stick to Medium settings at 1080p
  • Prioritize 60 FPS over visuals

Mid-Range Systems

  • Dedicated GPUs (GTX 1660/RX 5600 XT)
  • High settings at 1080p or Medium at 1440p
  • Can enable some eye candy

High-End Systems

  • Powerful GPUs (RTX 3070/RX 6800+)
  • Ultra at 1440p or High at 4K
  • Can enable all quality features